Tuesday, October 11, 2011

Roasted Shrimp with Orzo

This is a perfect summer dish, its served cold and full of bright flavors. The recipe is from Ina Garten from the food network.

Ingredients

  • Kosher salt
  • Good olive oil
  • 3/4 pound orzo pasta (rice-shaped pasta)
  • 1/2 cup freshly squeezed lemon juice (3 lemons)
  • Freshly ground black pepper
  • 2 pounds (16 to 18 count) shrimp, peeled and deveined
  • 1 cup minced scallions, white and green parts
  • 1 cup chopped fresh dill
  • 1 cup chopped fresh flat-leaf parsley
  • 1 hothouse cucumber, unpeeled, seeded, and medium-diced
  • 1/2 cup small-diced red onion
  • 3/4 pound good feta cheese, large diced

Directions

Preheat the oven to 400 degrees F.
Fill a large pot with water, add 1 tablespoon of salt and a splash of oil, and bring the water to a boil. Add the orzo and simmer for 9 to 11 minutes, stirring occasionally, until it's cooked al dente. Drain and pour into a large bowl. Whisk together the lemon juice, 1/2 cup olive oil, 2 teaspoons salt and 1 teaspoon of pepper.


Pour over the hot pasta and stir well.


Meanwhile, place the shrimp on a sheet pan, drizzle with olive oil, and sprinkle with salt and pepper. Toss to combine and spread out in a single layer. Roast for 5 to 6 minutes, until the shrimp are cooked through. Don't overcook!
Add the shrimp to the orzo and then add the scallions, dill, parsley, cucumber, onion, 2 teaspoons salt, and 1 teaspoon pepper. Toss well. Add the feta and stir carefully. Set aside at room temperature for 1 hour to allow the flavors to blend, or refrigerate overnight. If refrigerated, taste again for seasonings and bring back to room temperature before serving.
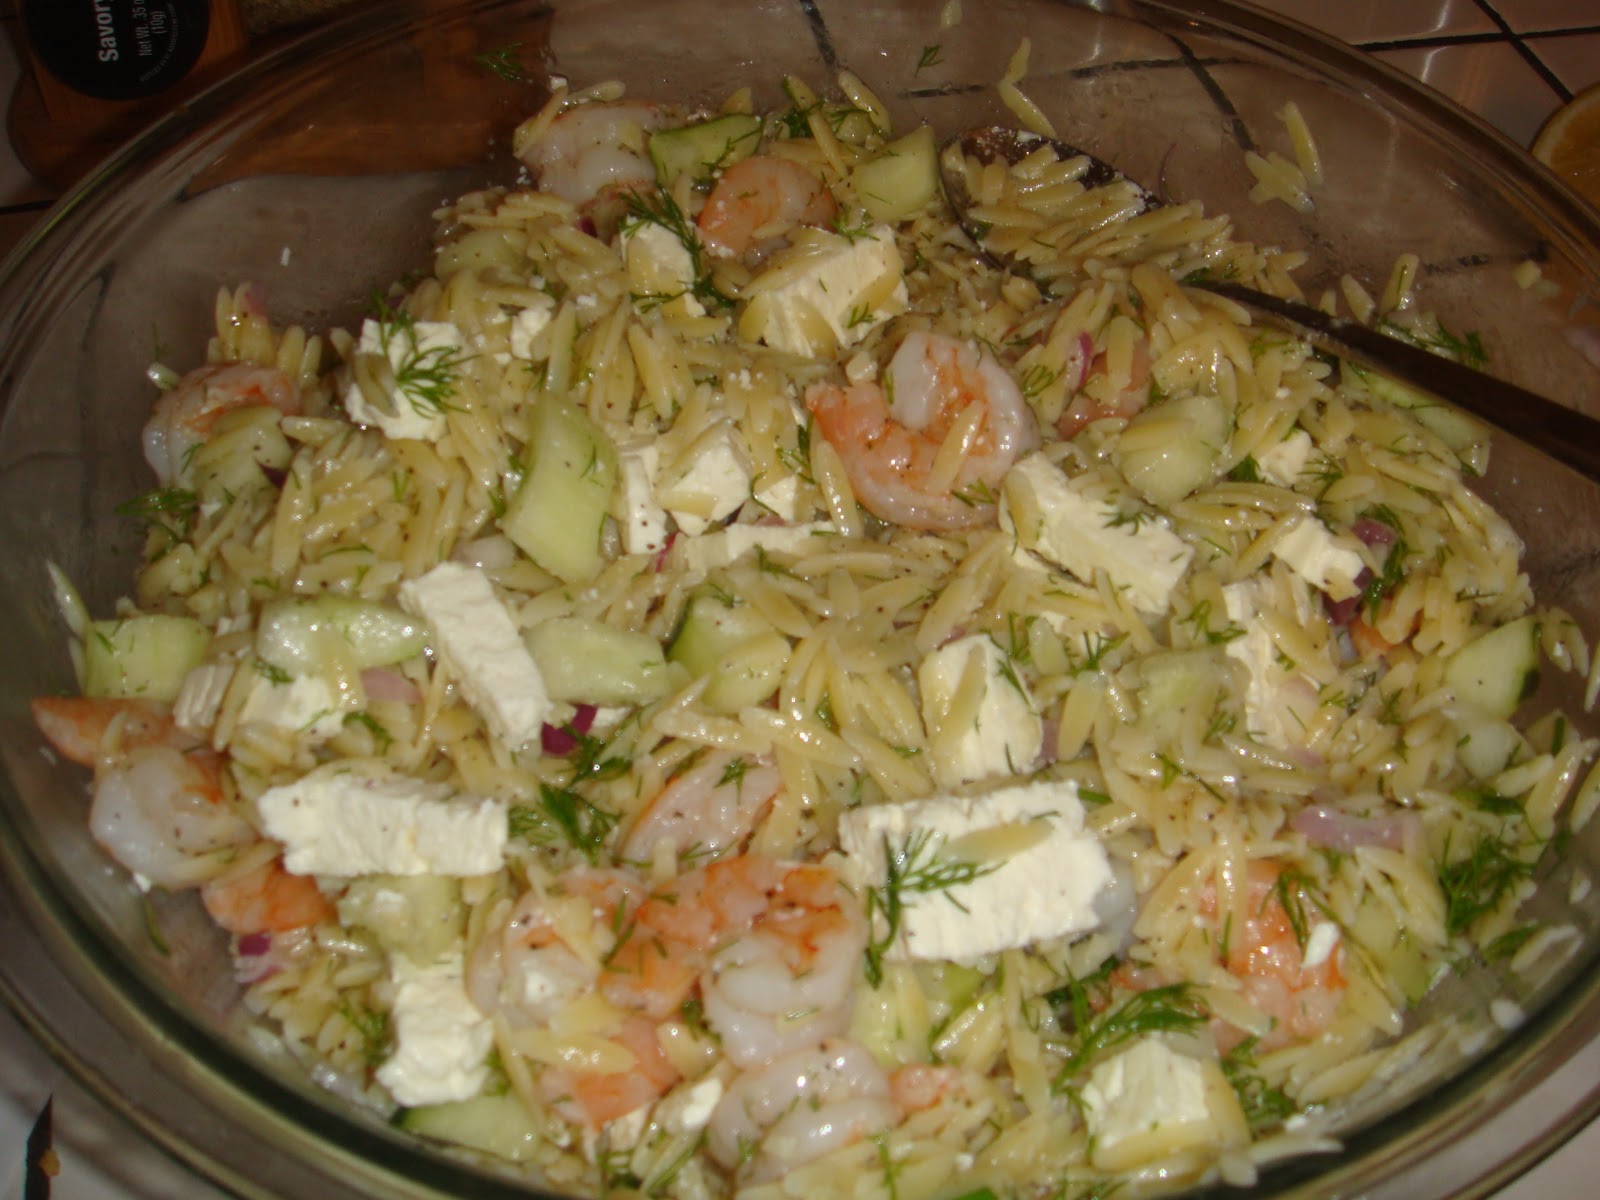

Everyone loves this recipe. The combination of flavors is amazing. This has become my new summer staple. 

Fig Filled Cupcakes

I love figs, so when my friends birthday came around this September I decided to make some fig cupcakes. I had some fig jam around the house so I just googled fig cupcakes and found this amazing recipe for vanilla bean fig cupcakes.I made some amendments to her recipe. Below is how my friend and I made these cupcakes

Vanilla Bean Cupcakes

Makes about 12 cupcakes

1 1/2 cups flour
1/4 teaspoon salt
1 1/4 teaspoons baking powder
1/2 cup butter, room temperature
1 cup sugar
1 egg plus 2 egg whites
1/2 cup whole milk
1 1/2 teaspoons vanilla

Preheat oven to 350 degrees F. Line a muffin tin with cupcake liners.
Sift flour, salt, and baking powder into a bowl and set aside.
Beat butter and sugar in a stand mixer on medium speed until very light and fluffy, about 3 to 4 minutes.
Add in the egg and beat to combine. Add in the egg whites, one at a time, and beat to combine.
Combine milk and vanilla bean paste together in a cup.
Add the flour mixture and milk mixture to the batter in alternating additions, starting and ending with the flour. Once the last bit of flour has been added. beat just to combine – do not overbeat.
Divide batter among the muffin tins. Bake in the oven for about 15 to 20 minutes, until the tops are lightly golden and a toothpick inserted in the center comes out clean. Let cool on wire rack.

Fig Filling
1 jar of fig preserves or jam


Once the cupcakes have cooled take a serrated knife and cut out a small circle from the top. It should be cone shaped so you can add lots of fig preserves. The cake is very moist so I found it very helpful to slightly pat the the circle I removed to make sure all the crumbs stayed in place. Then fill the hole with fig preserves and put the cake piece back on top.


They don't have to look too pretty because they will be covered with icing. The recipe for the icing is below:

Orange Blossom Honey Cream Cheese Frosting
makes about 1 cup
8 ounces cream cheese
2 ounces (1/2 stick) butter, room temperature
3/4 to 1 cup confectioners' sugar, sifted
1/4 cup orange blossom honey or any honey
Beat the cream cheese and butter in a stand mixer just until combined – do not overbeat.


 Add in the sugar and honey and beat until combined. If it seems a little runny, add more confectioners' sugar but be sure to taste so you don't make the frosting too sweet.


Then ice the cupcakes and enjoy!

These came out great, I will definitely try these again and maybe try an assortment of jams or preserves for the filling.

Monday, August 29, 2011

Simple summer salad

This is a simple summer salad that is really refreshing on a hot summer day. You can even substitute out the
ingredients based on what you have.


Recipe:

Ingredients:
2 large tomatoes or 1 package of cherry tomatoes
1 peeled cucumber
basil leaves (optional)
1 can of pitted black olives
Zesty Italian Salad Dressing

Dice tomatoes and cucumbers into 1 inch pieces. Put into a bowl and add olives. Add salad dressing to taste.


Fall Garden 2011

I started my first vegetable garden this spring. I was a little worried because my backyard only gets morning light, but I decided to plant anyway and see what happens. I planted a lot of tomato plants, bell peppers, peas, green beans, lettuce, arugula, zucchini, squash, basil, chives, mint, and cilantro.

At first they all did really well, but we had an extremely hot summer here in Arkansas and my most of my vegetables stopped producing. I heard from a lot of other gardeners that they experienced the same problem.  However, my tomatoes and bell peppers did really well and they are still producing.

I also got squash bugs which completely ruined my squash plants. I only harvested 1 zucchini from 7 plants. I was pretty bummed and I probably won't plant any squash next year. Since my squash plants were beyond saving I ripped them up and prepped the soil for a fall garden. I used my shovel to loosen the soil and mixed in fertilizer and peat moss to enrich the soil.

Then on August 20th, I planted carrots, parsnips, and spinach in this part of my garden


John and I had installed soak-er hoses for the spring garden so I planned on re-using them.

Then in another section of my garden I planted butternut squash (hoping that squash bugs won't destroy that too) and pumpkins. I heard that it was too late to plant pumpkins and squash but I decided to try it anyway. Worst case scenario is that I don't get any pumpkins.


I'm hoping to post the progress of my garden through the fall. Hopefully, I'll have some better luck this season.

Oreo Brownie Cookie Amazing-ness

I know I've been away recently, but school just started back up for me (I'm in my last semester of my M.B.A.) and I've been pretty busy, but I've been trying to still document all of our projects. Hopefully I will get them on the website soon.

I saw a recipe for a chocolate chip n oreo brownie cookie on a bountiful kitchen and decided I needed to make this. However, I needed an event to make this for, otherwise John and I would eat the whole thing which would not be good for my waistline. My friend's birthday was August 23rd, so I decided it would be the perfect opportunity to try it out. The recipe is as follows

1 cup unsalted butter, room temp
1 cup granulated sugar
3/4 cup brown sugar
2 eggs
1 tbsp vanilla extract
2 1/2 cups flour
1 tsp baking soda
1 tsp salt
2 cups chocolate chips, semi sweet
1 package of Oreo cookies
1 package of brownie mix (to be prepared as directed on the box) 


Preheat the oven to 350 and line a 9X13 pan with parchment paper
Cream the butter and sugar until light and fluffy. Add eggs and vanilla and mix well.
Add the flour, baking soda and salt and mix just until combined. Fold in chocolate chips.
Press the cookie dough evenly into the pan.
Now place the Oreo's on top of the cookie dough.
Prepare brownie batter as directed. Pour/spread brownie batter on top and smooth it around with a spatula.
Bake for  about 50 minutes. Bars are done when toothpick inserted in center comes out with a bit of a moist crumb attached. Remove from oven and let cool completely, about 2 hours.  
Cut into squares and serve.

I forgot to take pictures as I was making this, but I did manage to get a picture of it completely finished. This is how it came out


It was insanely good and everyone at the party loved it. I will definitely be making this again!

Wednesday, August 3, 2011

Powder Room

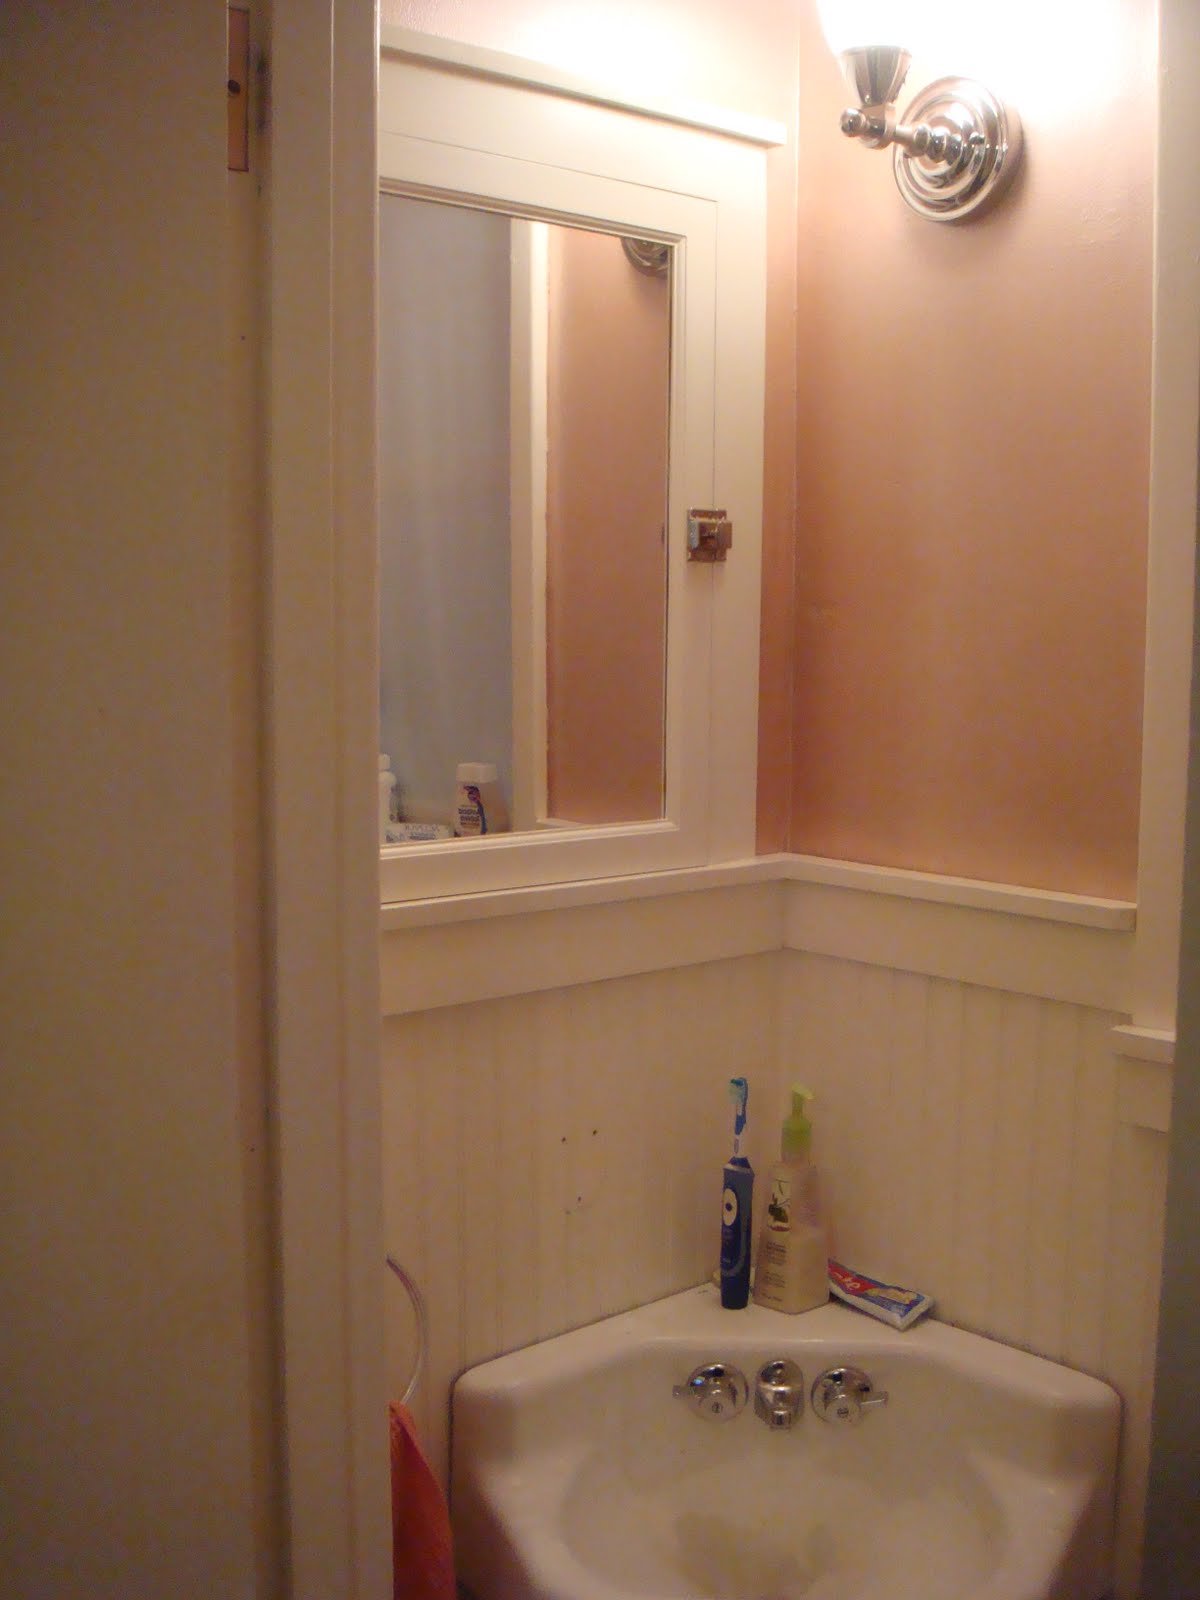
We have a small (and I mean small) powder room, right off of our kitchen. Unfortunately I do not have any before pictures to show you, but the powder room was the same color green as the kitchen originally was. It's real cute and tiny and already had wainscoting. Originally I just planned on painting the powder room the same color gray as the kitchen, but when I was at Home Depot picking out the gray color I happened to see Martha Stewart's Precious Metals collection. I saw the pink pearl color and loved it, so I grabbed a small can for the powder room. However I did not see that for best results, it is recommended that the metallic paint should be sprayed on. Painting with it was pretty difficult. It required 3 coats and constant attention to make sure everything was blended. In the end it came out a lot darker than the paint chip color- more salmon than pink, but I do love the metallic shimmer of it. These are the after pictures


I think the color looks better in the pictures!

Tuesday, August 2, 2011

DIY Kitchen Curtains

Yesterday I unveiled our kitchen mini makeover and promised to show you how I made those curtains.  So this is it.

We had those plastic curtain shades that roll up when you pull them down in our kitchen. While they are practical, they definitely lacked style. While looking at kitchens I found a blog called a well dressed home that showed how to make no-sew curtains by covering the plastic. They looked so good and easy that I had to try making my own.

You will need:

measuring tape
fabric of your choice (large enough to cover the window)
a plastic window curtain
scissors
liquid stitch or some other fabric glue
an iron

First measure the window you wish to make a curtain for. Once you have the measurements purchase the fabric for the curtains, making sure to get enough to cover the window. I got a couple of inched more because i wanted to make sure non of the the white plastic showed when the curtain was in place.

I found some beautiful fabric from Joann fabric that I loved. It's outdoor fabric, but I figured it could work. The fabric came in blue and green, but I ended up picking the blue. This is a picture of the fabric below:


This is the fabric in green.

I was sure to use my 40 % off coupon for the fabric because it costs $19.99 a yard! You can google Joann coupons and get one anytime you need one.

While at Joann's, I also bought some liquid stitch to use to adhere the fabric to the plastic curtain.


Once home, I removed the plastic curtain from the window. This was pretty easy because the curtain just snaps out of the hardware on the wall.  It is very important to note how your curtains are originally hung because you will need to cover the same side that was facing the kitchen before. I did not do this and I had a very hard time reattaching the curtain to the hardware on the wall. 

You will need a working area large enough to fit the curtain. Once the curtain is down from the window (or you have purchased a new one) place it on your work surface (mine was small enough that I could use the dining room table). Then take your fabric and cover the plastic shade. Do not attach anything yet, just make sure the fabric is straight and everything is how you want it. Then cover the shade with the fabric and turn over. Fold the excess fabric over the shade and iron to make a straight edge. Repeat for the other side. I put a towel under the shade when I ironed it and made sure not to leave it on for too long because it is plastic.


I left my fabric edges long on either side but this made the shade too thick and hard to roll, so I would suggest leaving 2 inches of fabric around the edges. Then simply lift up the fabric that you just ironed and spread out the liquid stitch. Then press the fabric to the plastic. Once it is place put some thing hard on top while it dries according the the directions (I used some books) and repeat for the other edges.


Once you are done just reattach the the shade to the hardware. It might not roll up as perfectly as before but it will look better. This is a picture of the kitchen with just the white plastic shade


And this is it after


I'm really happy with how it came out. I sewed the other curtains in the kitchen, but I forgot to take pictures, but I'm sure I will sew some more curtains soon and will detail how I made them step by step.