Friday, July 27, 2012

Stairwell and Hallway Progress part 2

Earlier today I posted a long overdue post on our stairwell and hallway makeover. As I mentioned in that post, I decided to go ahead and start painting the stairwell and hallway while John waited for it to rain to check and see if his roof patching job worked. I knew I wanted the stairwell and upstairs hallway to be the same color and that I wanted that color to be a neutral grey or beige or griege (grey-beige). We have wood colored trim in the stairwell and white trim upstairs so I thought a neutral would go with both and lighten up the space since it was so dark before. So I went to Sherwin Williams to get some samples.

I painted the samples on a spot near the wood colored trim and on a spot near the white trim to compare. I started with 3 colors City Loft Grey, Modern Grey, and (I'll have to look up this color later) in order from top to bottom. They are all by Sherwin Williams.


Even though these are all neutrals they are full of color and they looked pretty different against the white and wood tones. They were all reading a little darker than I had pictured and more red. So when I stopped at Home Depot I grabbed Cappuccino White by Glidden. I thought this would be a warm neutral and pair well with the wood. Here is my sample spot below. It's the 6th one down in the first picture and the second one down in the second picture.


So after I made my decision I bought 2 gallons of the Cappuccino White and went to work. I started cutting in the whole stairwell and hallway and really enjoyed the color. Then I started rolling the paint on and when I finished painting a whole section, the strangest thing happened. The whole section just read white and it looked like I hadn't even painted. In fact John could not tell I had painted at all until I showed him the section I hadn't painted. I was super bummed. All that hard work for nothing. So I went back to the drawing board. As an experiment I painted entire sections of the base of the stairwell with my other sample colors: Modern Grey, etc. When I painted those darker colors the same thing happened. I realized that with the wood trim I was going to need a lot darker color for it to read anything beside white. The whole phenomenon was really messing with my head.I started asking everyone (including my hair stylist and this poor girl at Banana Republic) what color their greige walls were. Then I found a great post by  Emily Henderson about her favorite grey paint colors. She even compares them to the many sides of Ryan Gosling, which makes it even better. After reading her post I decided to get a sample of Amazing Grey by Sherwin Williams.

I began painting it on the walls and it looked a little green compared to the other samples, but I think a good grey has more green tones otherwise it can go too blue. Anyway it was a lot darker than I had originally imagined but decided it would work. I painted whole stairwell (except for the messed up drywall) and the whole upstairs hallway. I am really happy with how the color turned out!


Here it is below. But first lets remember what it looked like before


Here's the after


 Much better, right?


Even in these pictures you can see how much lighter it reads next to all wood trim.  Now we have to fix the drywall section and paint that and hang some art work!


Stairwell and Hallway Progress part 1

Ok so when I last posted about the hallway and stairwell makeover it was mid April! To jog your memory, the stairwell and the upstairs hallway had some dark green and gold wallpaper all over it. This is a before picture


I detailed the removal of the hallway wall paper here. After successfully accomplishing removing the wall paper in the hallway, I decided to tackle the stairwell. I was planning on using the same method that I used in the hallway. However, the stairwell is about 20 plus feet tall so it was slightly more intimidating. I figured I'd start at the bottom and go as far as I could reach on a ladder and have John scrape the remaining off for me.

To my complete surprise and joy, when I began to pull the wall paper up from the bottom THE WHOLE SHEET came gently off the wall from the floor to the 20 foot high ceiling! I was so excited that I began pulling off all the wallpaper from the ground up. It took a total of 30 minutes to rip it all off. Both the top layer of the wallpaper and the bottom layer came of in smooth large sheets. However, there were some small patches of the under layer that stuck to the wall shown below.


Since these spots were up close to the ceiling, John built a scaffolding system out of old pallets. He used the Chomper spray to scrap off the remaining pieces.


But finally all the wallpaper is finally off! The pictures of the hallway and stairwell scraped are below. It already looks better.


Big improvement considering it looked like this before


My happiness about finishing a job in 30 minutes that I thought was going to take hours was quickly diminished when I pull down a section of wall paper and it revealed a large piece of moldy messed up drywall. You can see it just above the light fixture in the picture below. I wish I got more pictures because the picture below is actually after some cleaning. The mold (gross!) was on the drywall all the way down to the window trim. Luckily I was able to use some bleach spray and it came off easily.


However the messed up drywall pointed to a bigger problem- we had a leak in our roof and it had been leaking behind the wallpaper for who knows how long. So John got on the roof and investigated. He discovered that 1 shingle had a hole in it. Thankfully, he was able to use some roofing tar to patch the one shingle. After he patched it we waited for it to rain to see if the patch was sufficient before we went ahead and repaired the drywall. This was in early May this year and of course since we needed it to rain, Arkansas has had one of the longest droughts in the last several years. It is the end of July and we have still yet to have a really good rain storm when we are home to check to see if it patched well enough. More on that later.

So while we were waiting for it to rain during the past couple of months I decided to pick a paint color and paint everything except for the damaged drywall. Easy right? Not at all. This turned out to be a long drawn out super hard process. Some much so that it needs it own post. I'll post on that part later.

Thursday, July 19, 2012

Runner

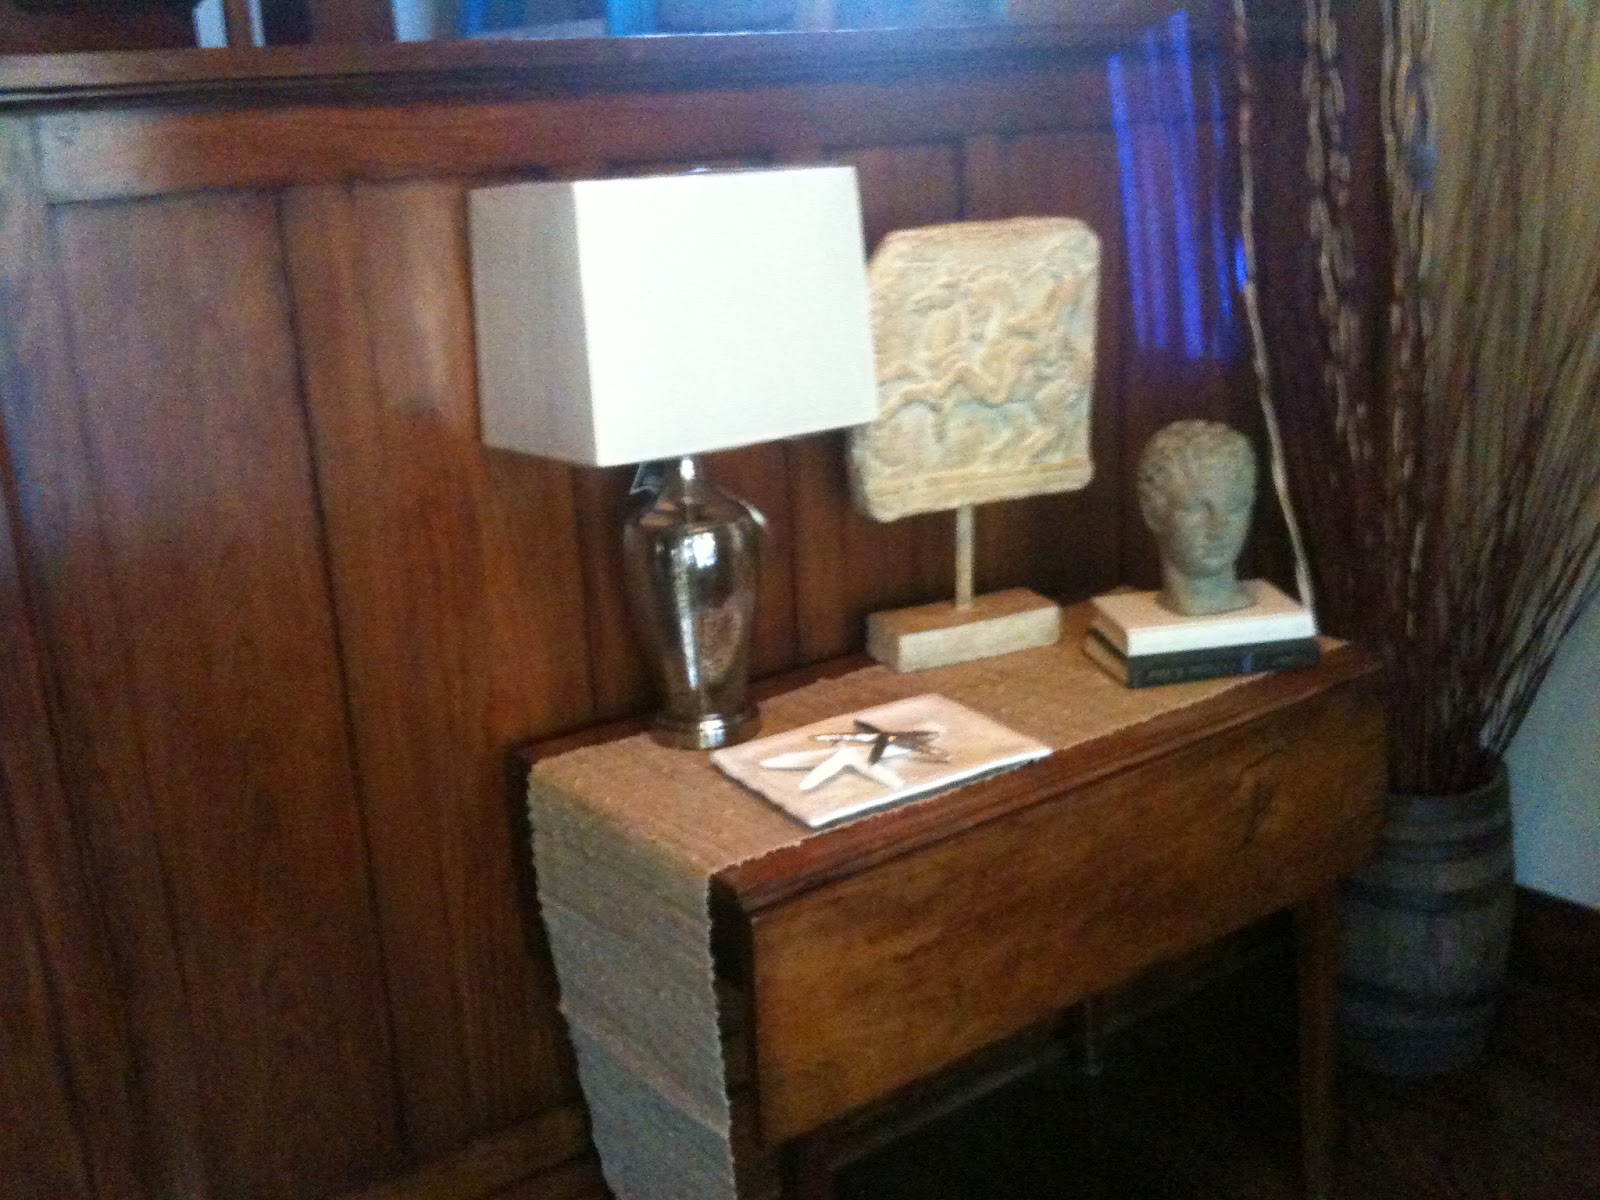
As the hallway saga continues (I hope to post on that soon), I have been also fixing up our much ignored foyer since that part of the house ties in with the stairwell and hallway makeover. As I mentioned in this post we added a vignette to our foyer table. It looked like this


While it was a great start, it just didn't feel finished. So we added this lamp base and lamp shade from Target.


This definitely brightened up the whole table and made it feel much more finished. However, there was too much wood going on. I thought a runner or table cloth would help break up all the wood. I found this burlap runner at Target ( I love Target as you can see) and thought it would be perfect.

Here it is with the new runner.


I love it. It keeps getting better with each addition. Now I just need a jute rug to put in the foyer to tie it all together. Maybe Target will have a cute cheap one ;)

Tuesday, July 10, 2012

Almond Fig Tart

It's fig season again!

I never really had a fig until couple of years ago and ever since I have been kinda obsessed with them. My friend gave me a bunch of figs from his beautiful fig tree. I have a small fig tree that doesn't have any fruit on it yet, but will hopefully someday. Usually I'll just eat the figs with goat cheese but I wanted to try something new with them so I found this tart recipe. I would normally make a homemade tart crust but I was short on time and substituted a pre-made one. Feel free to make one from scratch. 


Ingredients

  • 1 frozen pie crust (or your favorite tart crust recipe)
  • 1 can almond paste, at room temperature, cut into 1/2-inch pieces
  • 12 oz mascarpone cheese, at room temperature
  • 1 teaspoon vanilla extract
  • 2 tablespoons honey
  • 6 large or 12 small fresh figs, sliced, stems removed 

Directions

Cook pie crust according to the directions on the package.
 
In a clean food processor bowl, combine remaining sugar, almond paste, mascarpone cheese, vanilla extract, and honey. Blend until smooth.
 
 Spread the almond filling over the dough. Arrange the figs on top of the almond filling. Refrigerate for an hour then serve.


It looked and tasted delicious. Next time I may make the crust from scratch and bake the figs with the apricot jam like the original recipe just to see how it turns out, but I will definitely make this version again.


Monday, June 18, 2012

Foyer Table Vignette

It has been a while since I've posted last. The main reason is because I have ran into some major paint issues with the hallway and foyer. After scrapping the wallpaper, I picked some paint samples and decided on the perfect color. However, after I painted the majority of the stairwell the color looked white up against the wood trim. I have been having such a hard time picking a new color that will work and that will read grey. I have bought like 10 samples so far. So when I finally pick a color I will detail the whole debacle.

On to the foyer...

We have a super cute French boutique furniture store called White Goat. They have amazing stuff, I got our Chairs for our informal living and our bar in our dining room from there. They sent me a $50 gift card in the mail so I decided to go look around. I have been wanting a vignette for our console table in the foyer, so I while I was at the store I took items and put together my own little vignette on one of their tables to see what it looked like. This is what I came up with


I had the books but bought everything else. John and I have always wanted a bust so we are really excited about it. Although, I like it like this I plan on adding a lamp on the left and maybe adding a burlap runner to the table so it looked more filled in. I'm thinking about getting a mercury glass lamp from target.  I love the starfish and plan on changing them out with other seasonal item like leaves and Christmas balls, etc.


Tuesday, April 17, 2012

Hallway Ideas

I know the wall paper still isn't finished being removed, but I am getting super excited about what I can do with the upstairs hallway. I have been pinning ideas like crazy on Pinterest.

I would love to put up grass cloth wall paper and build a chair rail like the one in our living room like the picture below.


I love this style and really want to do it eventually, however it would be more expensive and time consuming. After spending all that time removing the wall paper it would be hard to put more up. But this is still in the running.

Another idea I had was to paint the hallway white and build lots of trim on it like the picture below


I think it adds a lot of character and would make the space feel really open. This would also be expensive and time consuming. Building just the bottom chair rail in the living took a lot of time and effort. However I think the molding would be worth the investment.

Finally, I was thinking about painting a light neutral color and putting really big art pieces along it like a gallery. Kinda like the picture below


We'll see what I decide!

The wall paper is finally coming down!

When we first saw the house I decided that the wall paper had to go. Below are some pictures of it in our stairwell and upstairs hallway.


It's definitely high end wall paper but it is so not my style. Also the colors are too dark against all of our wood trim. Even though I have disliked the wall paper from day one I have been dreading removing it. I knew it was going to be a pain so here we are two years later and we are still living with the wall paper.

This past fall I removed the border from our informal living room (the guy before us must have really liked borders and wall paper because he put them all over) shown in a post here. Removing this border was super easy so it gave me the confidence to finally tackle the hallway.

I am breaking up the wall paper removal into phases because there is so much of it. First I am starting with the hallway, then the little part at the bottom of the stairs and finally I will tackle the stairwell.

I bought "Chomp" wall paper removal spray that comes in a plastic spray bottle for the border removal so I just used what was left and followed the directions on the back. It says to slowly remove the top layer of the wall paper by peeling it back. Starting at the top right corner, I used my nails to lift the corner and pulled until the whole top of sheet of wall paper was unattached to the wall.


Then I continued to pull down firmly but gently until the whole sheet came off. In the picture above I am removing a small piece but the majority of the sheets came off in big (3 feet x 8 feet) sheets. Since I had such good luck with this step I began removing the top layer of wall paper in the whole hallway. When I was done it looked like this


It is already an improvement! The off white backing was still attached to the wall so that was the next step. I sprayed small sections of the backing with my spray wall paper remover until all of it was pretty moist and waited 1 to 3 minutes.


Then I used a putty knife to loosen the edge and began pulling off the backing.


Using the putty knife helped larger sheets come off, but this part definitely took a lot longer. Once I removed a section I wiped the walls down with a moist sponge. Also open a window when using this spray because the fumes are awful.

I did about 1/4 of the hallway when I ran out of spray so I have to wait to get some more. I think I will need at least 2 more bottles. I can't wait for it to be finished. The hallway already looks bigger and brighter!