Wednesday, November 30, 2011

New chairs!

So John and I currently working on redoing our informal living room. We hope to finish before Christmas and will put up pictures as soon as we can. Right now it is utter madness in there, but its starting to look pretty good underneath it all. As I mentioned in this post we recently bought a new couch for this room. We also needed some new chairs because all we had were these mismatched pick chairs. You can see one of them in the picture below.


So I started looking at different stores online and really loved old french style chairs like this chair from Ballard Designs, this chair from Restoration Hardware, and many others. However, all of these stores were going to charge like $300 for shipping, so I decide to look around locally. I found a new store called White Goat here in Little Rock and they have some fun French antiques and vintage pieces. I found some amazing chairs there


I went over Thanksgiving weekend and got two of the second chairs in the picture above for 30% off. The back of the chairs are burlap which makes them kinda funky but cool. I love them and hope they look good in the new living once its finished.

Tuesday, November 29, 2011

Carbonara Pasta

I made a lemon angel food cake a while back and had 10 egg yolks left over. I am always trying to find new ways to use the leftover yolks so they don't go to waste. I came across this recipe for Carbonara pasta that adds zucchini and it uses 5 yolks so I decided to try it. I altered the recipe slightly

Ingrediants:
  • 5 slices of thick but bacon
  • 5 egg yolks
  • 1/2 heavy cream
  • 2 medium zucchinis
  • 1 lb of any pasta (I used shells)
  • 1/2 cup Parmesan cheese
  • salt and pepper to taste


Directions:
First fill a pot with water and set it to boil. Then put the bacon in a skillet and begin frying it.


Meanwhile, scramble the 5 yolks together with the cream and half of the Parmesan cheese.


Then begin dicing the zucchini into about 1/2 inch sized pieces. Add the zucchini and pasta to the water when it starts to boil and cook according to the pasta instructions.


When the pasta is al dente, save a cup of the pasta water and set aside.


Drain the remaining water and put the pasta and zucchini in a serving bowl. When bacon is done cooking let cool and chop into pieces and add to the pasta. Then take a slight bit of the cooking water and add it the the egg mixture while stirring. Be careful it doesn't begin to cook. Then add the egg mixture to the pasta and stir quickly to not create scrambled eggs. Add more cooking water if it is not saucy enough. It is so tasty and the add zucchini makes it a little better for you.


Curtain Wall

As we mentioned in this post, we moved our bed around our master bedroom to here


Our plan was to build a curtain wall so that the bed could look centered on that wall. I had a Target gift card, so I was determined to find curtains from there. I wanted a light gold faux silk because I wanted to lighten up the space. I found these and they had 5 of them in stock in the 95 inch length. I will need 4 for this wall and another 4 for the other wall, so I decided to start with these. I also got a these curtain rods in a nickel finish. Yay Target!

Then John measured the length of the wall and figured out how far over to the left (when looking at the picture above) the curtains needed to go to for the bed to look centered.

This is how the curtains turned out


I love it! Here are some more pictures with some pillows I also picked up at Target.


I wish the lighting was better, but we are so thrilled with the new bed location and curtain wall. The bedroom is really staring to come together considering this was the bedroom 4 months ago

Sad and peach lol

However we are not completely done with the master bedroom. Here is our remaining to-do list:

  • Build a bench for the end of the bed
  • get new light fixture or DIY something
  • hang curtains on other wall
  • change the knobs on the wardrobe wall
  • get a rug
  • get a chaise or some chairs for a sitting area
  • re- do my closet (this is a long term project)

Great Bed Shuffle

So we have an old house and with an old house comes lots of giant windows. For the most part I love the big windows in our house, but in our master bedroom we have two walls of windows, a fireplace and wardrobe on another wall


and a closet on another wall


so our bed was pushed into the corner as seen below


We just felt like we were not utilizing the space to its fullest potential so John and I started moving the bed around to see if anything worked.

First we tried putting the bed catty cornered in the same corner. This is what it looked like:


This was slightly better but we didn't have room for side tables and it just didn't feel right. So next we moved the bed in front of one of the window walls. The windows are not centered on the wall, but we made the bed centered.


We also opened the wardrobe door (seen on the right of the pic above) to make sure we still had room to open and close it. We liked this location the best but it looked weird not being centered  under the windows. To solve this we bought some curtain centered the curtains on the wall, so it looks like the windows are centered. A more detailed post on the curtain wall be follow shortly. This is how it came out:


I wish I had a better picture but I love it! The new layout is much more functional and I love the curtain wall. In addition, it also solved my DIY Sunburst Mirror problem. Before the mirror did not fit properly over the bed as I had imagined as seen below


Now that the mirror gets to hang over the blanket chest and looks great there.


Overall, we love the new setup, however the first night sleeping in the new spot, we froze because the vent is now directly above our bed. Luckily, John made a diffuser of sorts that directed the air away from us.

Monday, November 28, 2011

Apple Pear Crisp

I love fruit crisps and try to make them with seasonal fruit year round. Every fall I make Ina Garten's Apple Pear Crisp. It is so tasty! Below is the recipe:

Ingredients:
  • 2 pounds ripe Bosc pears (4 pears)
  • 2 pounds firm green apples (6 apples)
  • 1 teaspoon grated orange zest
  • 1 teaspoon grated lemon zest
  • 2 tablespoons freshly squeezed orange juice
  • 2 tablespoons freshly squeezed lemon juice
  • 1/2 cup granulated sugar
  • 1/4 cup all-purpose flour
  • 1 teaspoon ground cinnamon
  • 1/2 teaspoon ground nutmeg 
  • For the topping:

  • 1 1/2 cups all-purpose flour
  • 3/4 cup granulated sugar
  • 3/4 cup light brown sugar, lightly packed
  • 1/2 teaspoon kosher salt
  • 1 cup old-fashioned oatmeal
  • 1/2 pound (2 sticks) cold unsalted butter, diced
Directions:

Preheat the oven to 350 degrees F.

Peel, core, and cut the pears and apples into large chunks.


Place the fruit in a large bowl and add the zests, juices, sugar, flour, cinnamon, and nutmeg. Pour into a 9 by 12 by 2-inch oval baking dish.


For the topping:
Combine the flour, sugars, salt, oatmeal, and butter in the bowl of an electric mixer fitted with the paddle attachment. Mix on low speed for 1 minute, until the mixture is in large crumbles.


It should look like this


Sprinkle evenly over the fruit, covering the fruit completely.

Place the baking dish on a sheet pan and bake for 50 minutes to 1 hour, until the top is brown and the fruit is bubbly. Serve warm.

I didn't get an after picture. I really need to work on taking after pictures, it seems like I'm always too excited for the food and forget about the last pic. Enjoy!

Wednesday, November 23, 2011

Sweet Potato Au Gratins

I love sweet potatoes, especially this time of the year. They are so tasty and good for you. When I found a recipe for mini sweet potato au gratins on a bountiful kitchen I knew I had to try it out. They were absolutely delicious and looked adorable. Below is the recipe:

Ingredients:
1 1/2 pounds small sweet potatoes, peeled and thinly sliced *
2 teaspoons chopped fresh thyme or rosemary, divided
1 cup (4 oz.) freshly shredded mozzarella or Gruyere cheese, divided*
2/3 cup heavy cream 
1 garlic clove, pressed
1/2 to 3/4 tsp. salt
1/4 teaspoon freshly ground pepper
Garnish: fresh thyme or rosemary

Directions:
Preheat oven to 350°. Layer half of sweet potatoes in a lightly greased 12-cup muffin pan. Sprinkle with a light layer of salt.  Then sprinkle with 1 1/2 tsp. thyme and 1/2 cup cheese. Top with remaining sweet potatoes. (Potatoes should come slightly above the rim of each cup.) 
Microwave cream, next 3 ingredients, and remaining 1/2 tsp. thyme or rosemary at HIGH 1 minute. Pour cream mixture into muffin cups (about 1 Tbsp. per cup).
It should look like this


Bake at 350°, covered with aluminum foil, 30 minutes. Uncover and sprinkle with remaining 1/2 cup cheese. Bake 5 to 7 minutes or until cheese is melted and slightly golden.
Let stand 5 minutes. Run a sharp knife around rim of each cup, and lift potato stacks from cups using a spoon or thin spatula. Transfer to a serving platter. Garnish, if desired.

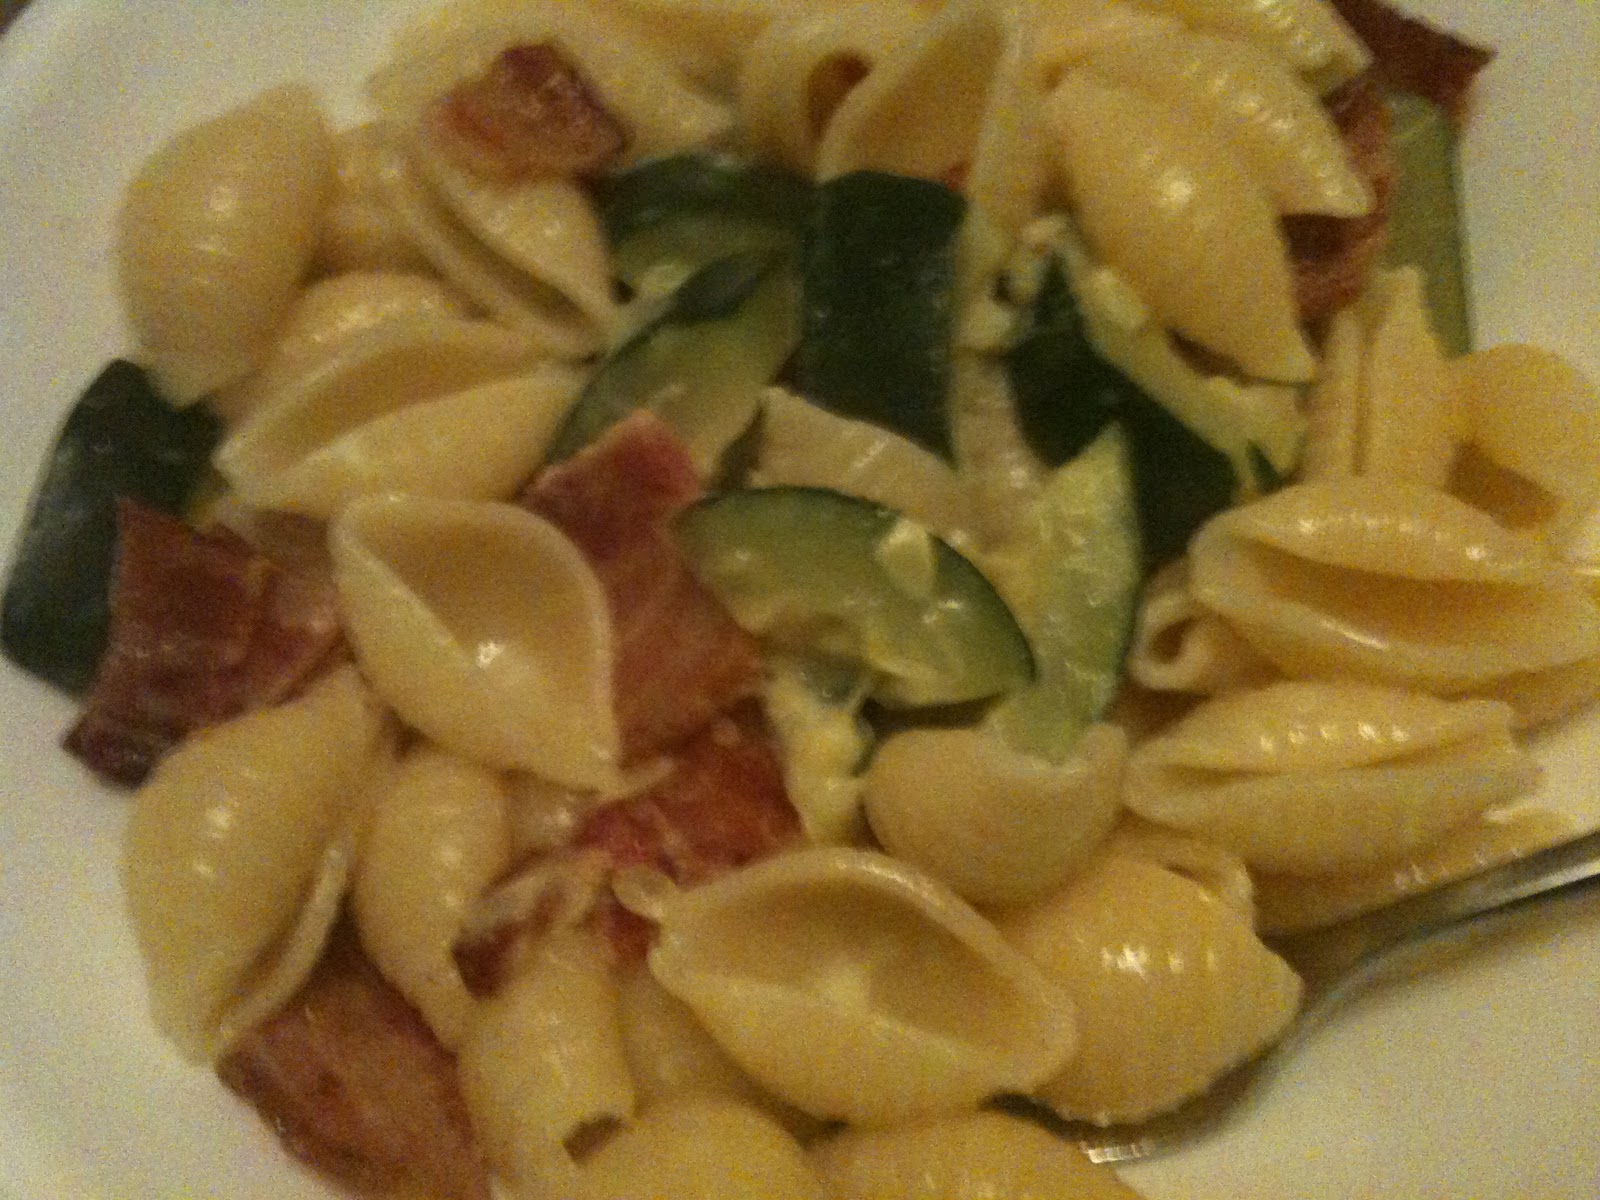
This is what they looked like finished


Tips:
-Try to buy potatoes that are no larger than about 2 inches wide. When sliced these fit nicely into the muffin tins. Stagger the slices as you stack to get a fully formed stack. Is you are unable to find long, slim sweet potatoes or yams, use a wider potato and cut the slice in half.
-I prefer to use a sweet potato or yam that is orange in color, not the whiter type sweet potato.
-Make sure to stack the potatoes about 1/2 inch above the rim if you want  a nice stack, the potatoes will shrink during baking.
-I like this recipe with thyme, rosemary or sage.
-You can make as appetizers by halving the recipe or using a mini muffin pan.
-Also if you are adventurous you could add a little cayenne pepper and brown sugar to the potatoes to increase the flavor


Enjoy!

Tuesday, November 15, 2011

Chandelier Makeover

John and I are currently working on revamping our informal living room. We had a pretty cool ceiling fan in there, but it just wasn't our style. A picture of it is below


A while back I had found an old brass chandelier at Habitat for Humanity for $20.


I grabbed it, but wasn't quite sure what I'd use it for. Then I started researching spray painting chandeliers and found tons of posts on how to do it and many of them came out great. I decided to give it a try too and if it came out well we could use it in the informal living room.

So I went to Lowes and grabbed Rustoleam's Gray primer spray paint and a shiny silver top coat spray paint. I just needed one can of each. Then John hung the chandelier from a tree in our backyard so I could easily paint all sides. Then he blew off some dust with the air compressor (this is not necessary). 

After John was done "dusting", I wiped the whole thing down with a wet rag to remove leftover dust. Once it was dry, I started spray painting the primer on the chandelier in 2 very light coats. The trick is to keep moving the spray paint. John thought the light bulbs were no good, since it is so old so I left them in there while painting to keep paint from getting in there. I also decided to paint the candle holders the same color as the rest of the chandelier since they were brown and stained. This is what it looked like after two coats.


Now I was ready for the top coat. I starting spray painting again in the same manner- many light coats. After 3 coats or so we had this!


I was super excited because it looked like it has always been silver.
Then John hung it in our informal living room and we found some small lamp shades at Lowe's for it. This is a picture of it hanging in the living room! We love it!


 (Note I did not sand the chandelier or use finish remover, which made the chandelier very hard to handle, if you choose to do the same be very careful reinstalling it)
Also, that red thing on the shade is the plastic wrap, I was so excited I took the picture before unwrapping all of the shades. 

Sunday, November 13, 2011

Motorcycling 101


"How do you ride a motorcycle, John?" "Very well" I answer. What people mean to ask is "how do I operate this vehicle?" Well, lucky for you, someone already wrote it down.
Proficient Motorcycling by David L. Hough is the best book available to teach someone the art of motorcycling. "... world's best introduction to safe street- riding techniques..." - Amazon.com. Now available for some e-books, Proficient Motorcycling and the sequel, More Proficient Motorcycling have helped me and countless others learn about the vehicle, the road, road hazards, and so much more that will keep you safe. Enjoy!

Thursday, November 10, 2011

Burgers with Pear, Carmelized Onions and Jalapeno Fig Jam

So recently I went to this great new burger place in little rock called Big Orange. They had a burger with fig jam and pecorino cheese and truffle mayo that was spectacular. I've really gotten into the non-traditional burgers with fruit on them so the next time I made burgers I decided to do something interesting. I had some pears and thought that caramelized onions would go great with them. Next I needed a sauce. I happen to have some fig jam left over from these fig filled cupcakes and jalapenos from John's coworker so I decided to make a jalapeno fig jam sauce. These burgers were amazing! The recipe is below:

Ingrediants:
      1 pear (thinly sliced)
      1 onion (sliced into thin rings)
      1/2 cup fig jam
      1 jalapeno (diced very small)
      1 tbsp butter
      Cheddar cheese slices (you could use any cheese- blue cheese would be good too)
      Ground beef
      Buns

Instructions:
Form burgers with the ground beef and grill or fry them. Place sliced onions into a frying pan with a tablespoon of butter on low heat and let cook for about 10 mins or until caramelized . 


Then add sliced jalapenos to the fig jam so their flavors can start melding
.


Then slice the pears.
Then just assemble the burger. Put on the cheddar cheese, followed by the pears, then onions and spread on the fig jalapeno jam on the bun. I don't have any after pictures- they were so good, I forgot to stop and take one.

Friday, November 4, 2011

We sold our 1st house

John and I bought our first house in the spring 2006. We were still in college and only 21, but the market was still pretty good and we were able to buy a fixer upper. You can read more about our renovation of our first house with before and after pics here . There is a picture of it below.


We bought our new house about a year and a half ago (July 2010) and once we moved in and the old house was empty we finished up some projects over there, like the flooring in the guest bedroom and office, painting, etc. We finally put the old house on the market in April of this year. We had 3 months without an offer, so we dropped the price a little. Then we finally got an offer on our anniversary (Sept 27th)! It was the best anniversary present ever. During the closing process the house didn't appraise for as much as we were selling it for so we had to lower our price slightly, but all in all we ended up in the black with a small profit, plus we don't have two mortgages anymore! We finally closed Oct 31st! I thought I was going to be sad since it was our first house and we worked so hard on it, but I was actually ok. I love our new house and hope that the new homeowners will enjoy it as much as we did!